.webp)



Step 2: Add settings
In this step, you add a Qikink Settings DocType for the API keys, and you show it as a tab in the Commera settings.
Commit: feat: add qikink settings and its commera settings tab.
What you'll build
- A Single DocType, Qikink Settings, with the API keys, the supplier and the buying price list.
commera/settings/index.vue, a Qikink tab in the Commera settings.
1. Create the Qikink Settings DocType
-
In Desk, open the DocType list and click Add DocType.
-
Set Name to
Qikink Settings. -
Set Module to
Qikink. -
Leave Custom? cleared, so that Frappe writes the DocType into your app.
-
Tick Is Single.
-
Add these fields:
Label Type Options Default Client ID Data Client Secret Password Sandbox Check 1 Supplier Link Supplier Buying Price List Link Price List -
In Permissions, give System Manager read and write.
-
Click Save.
Frappe writes the DocType to commera_qikink/qikink/doctype/qikink_settings/. It does this only because developer_mode is on. Commit these files with your plugin.
The plugin uses Supplier and Buying Price List from step 4 onwards. Qikink ships the products, so the store buys each Qikink line from this supplier.
2. Add the settings tab
In apps/commera_qikink, run bench commera add settings. Replace the commera/settings/index.vue it writes with this:
<script>
export const plugin = { label: 'Qikink', doctype: 'Qikink Settings' }
</script>
icon is optional; without it the entry uses the plugin's icon (commera/plugin-icon.svg).
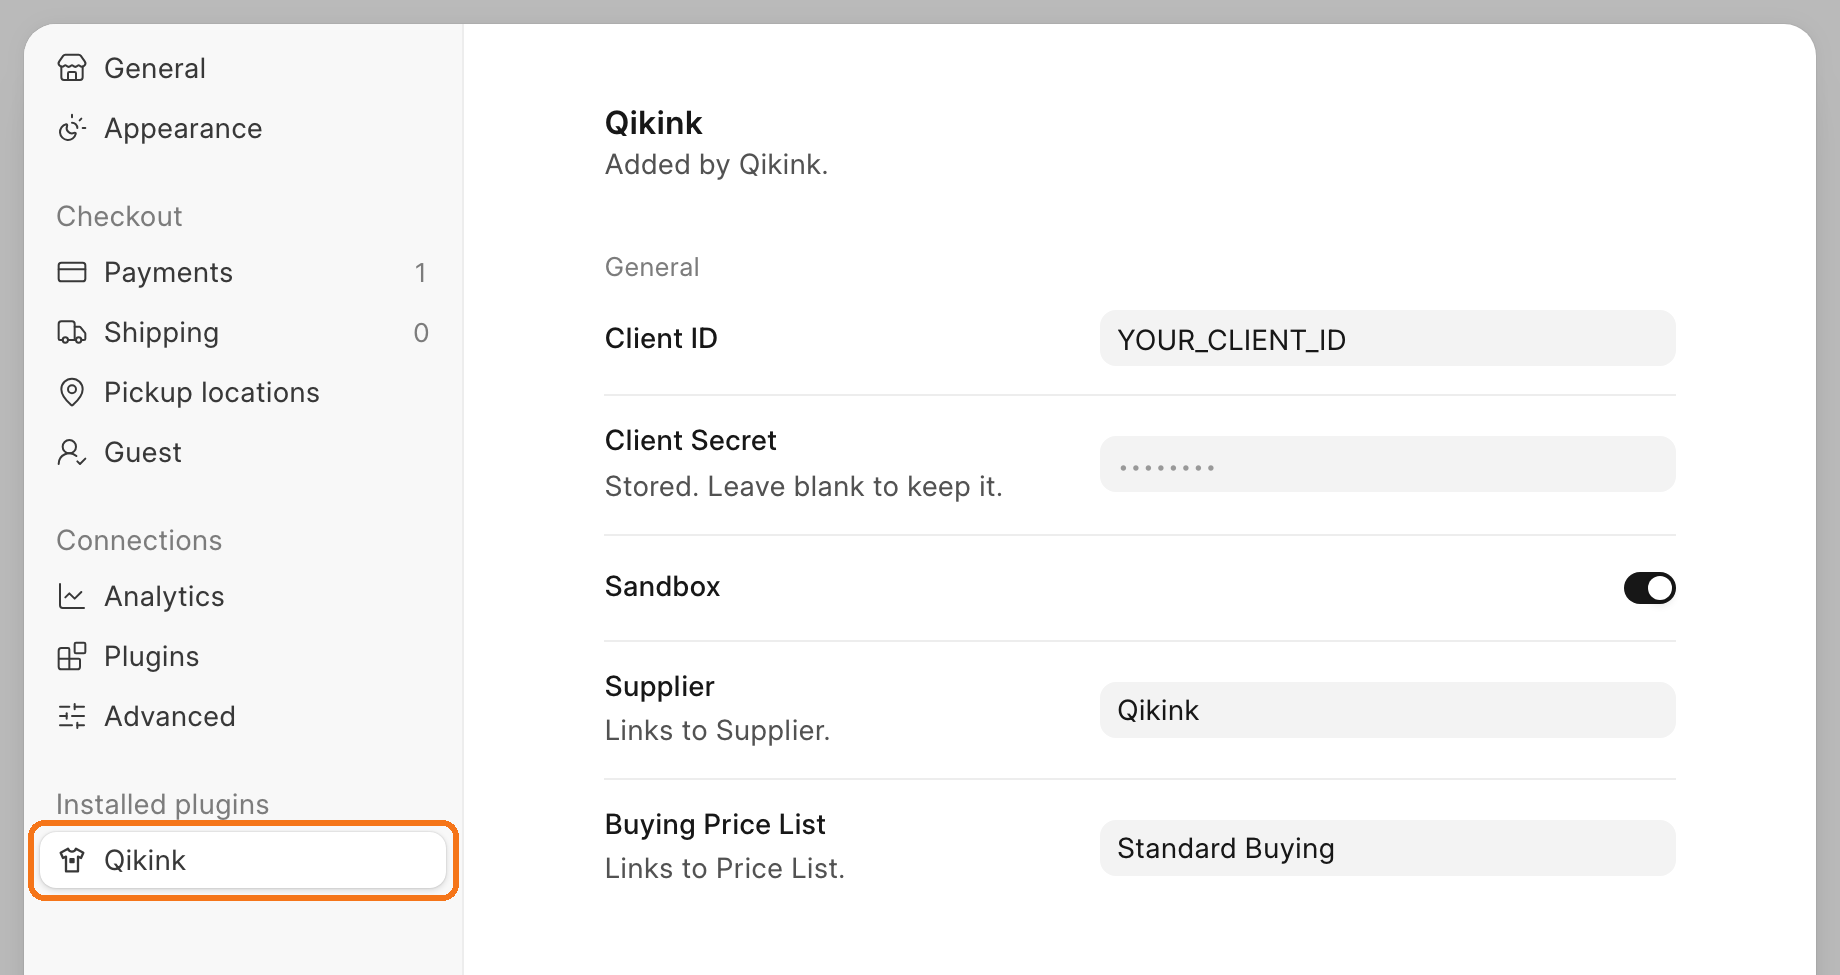
With doctype set, Commera draws one row for each field of the Single. Each row saves itself when you leave it. You write no template.
Build the plugin with bench build --app commera_qikink, or keep yarn dev running in apps/commera/dashboard.
Check it works
- Open
/commeraand click Settings. - Under Installed plugins, click Qikink. The tab shows the five fields.
- In Client ID, type the Client ID from your Qikink dashboard, then click outside the field. A toast shows "Client ID saved".
- Fill in Client Secret the same way.
- Make sure that Sandbox is on.
Next steps
- Step 3: Connect to Qikink
- Dashboard entries: settings tabs with your own template