.webp)



Add your first product
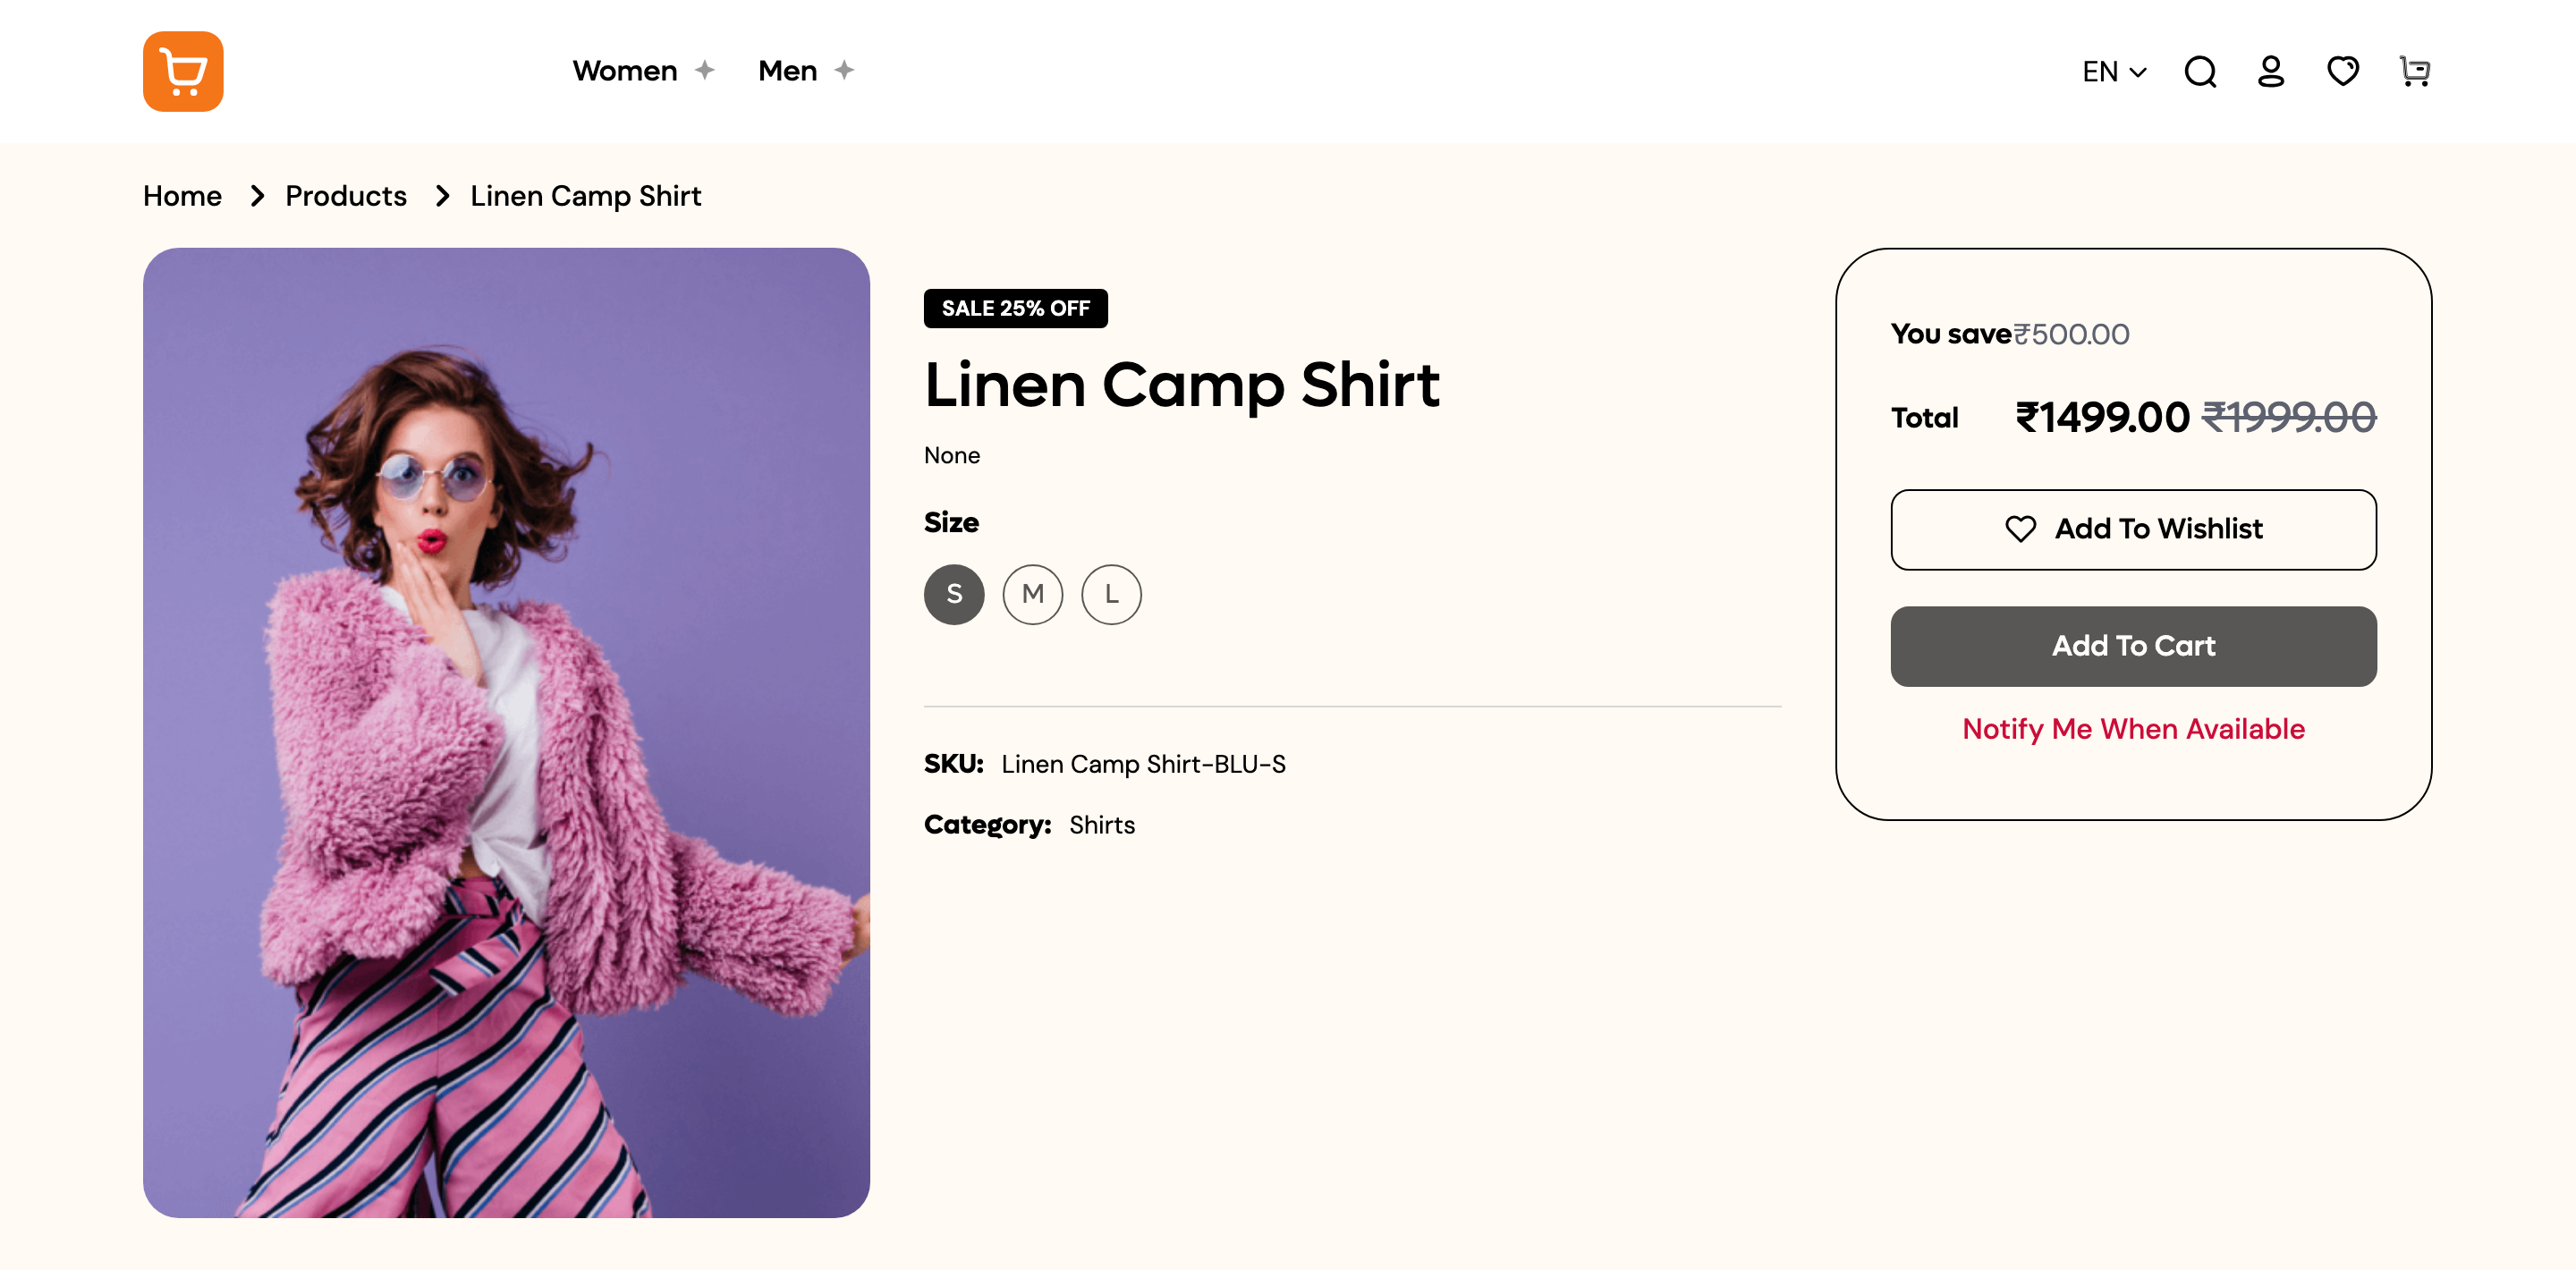
Create one sellable product with a price, sizes and a photo, and see it live on your storefront.
Before you start
Finish Welcome to Commera so you know your way around the dashboard.
Steps
-
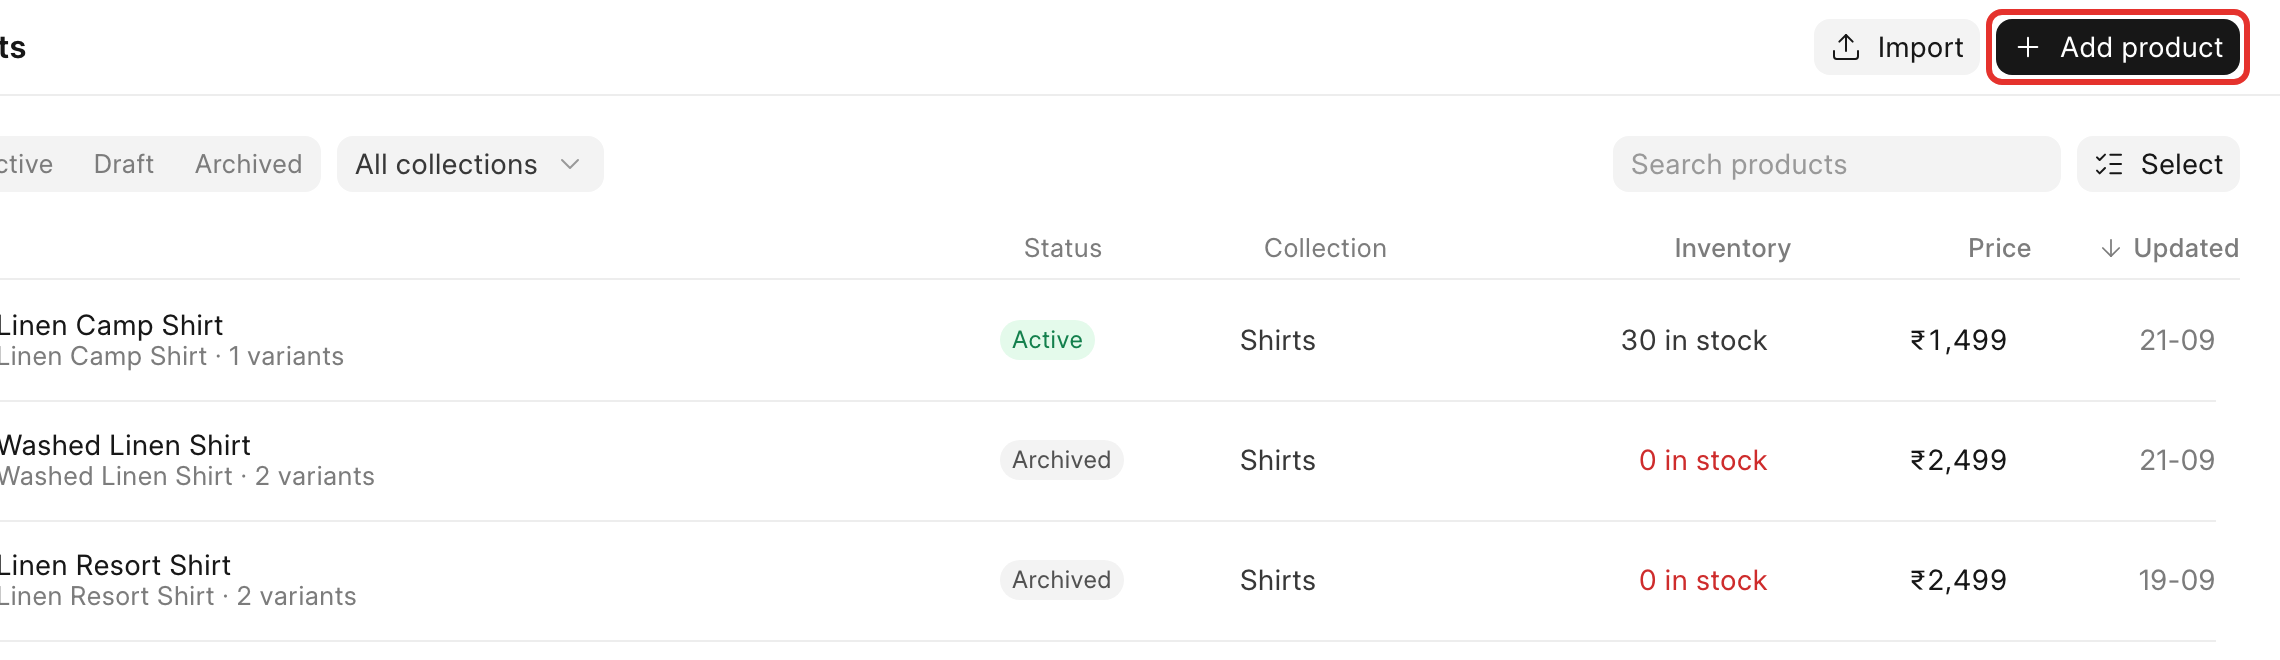
In the sidebar, under Catalog, click Products. Click Add product in the top right.
-
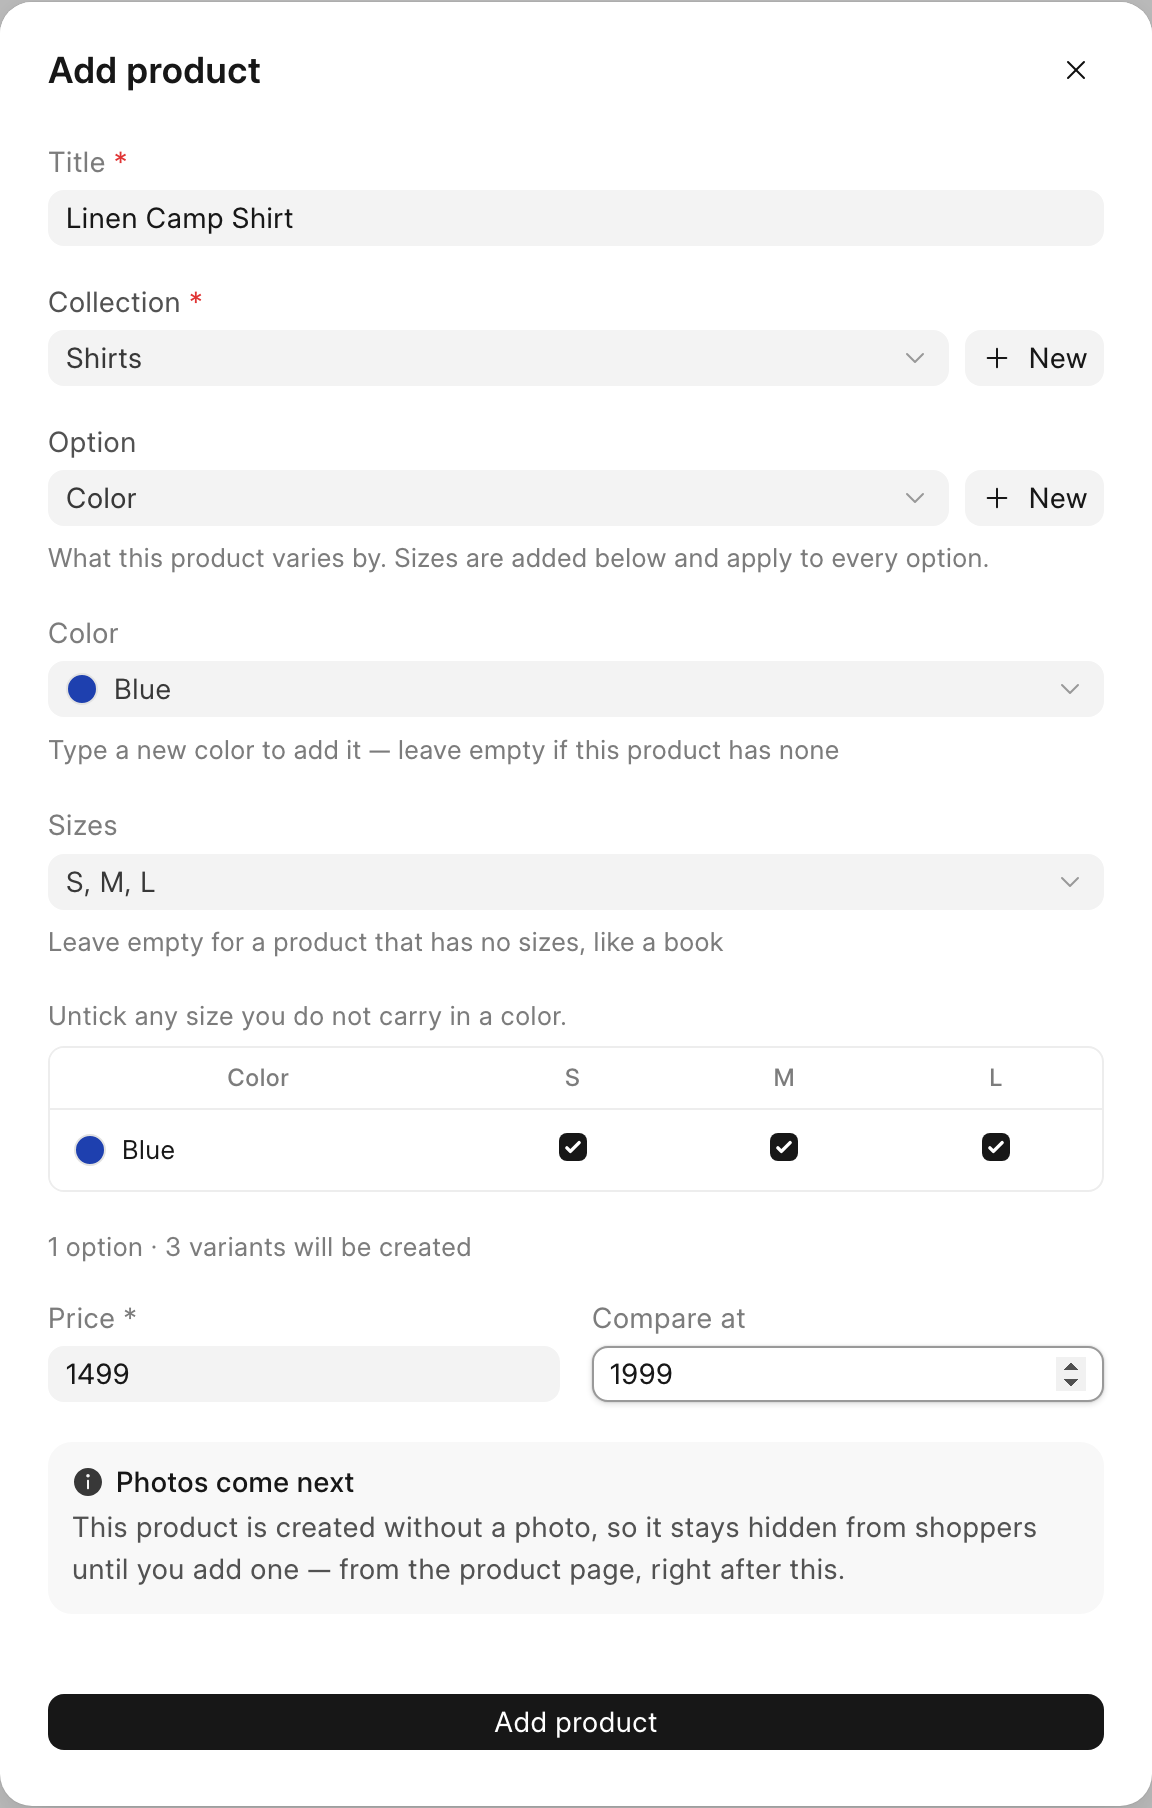
The Add product dialog opens. Fill it in, then click Add product at the bottom:
- Title: name the product.
- Collection: pick one, or create a New one.
- Under Option, keep the default Color, and pick or type a colour in the Color field; that becomes the first thing shoppers choose.
- Sizes: list the sizes you carry.
- Each color crossed with each size becomes one thing you can stock, price and sell, such as "Blue, size M". A grid shows every combination; untick any size you do not carry in that color.
- Price and, if the item is on sale, Compare at, which shows shoppers a sale badge and how much they save.
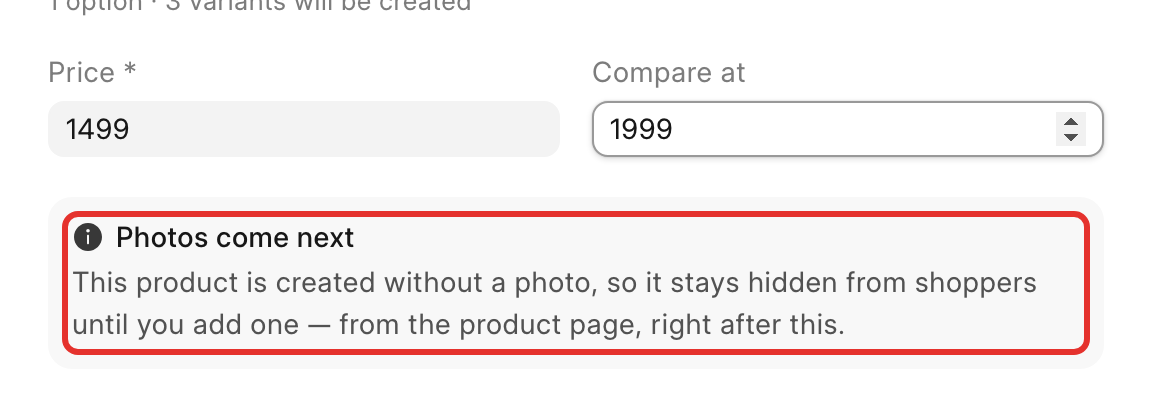
- A note, Photos come next, tells you the product will be created without a photo and stays hidden from shoppers until you add one.
- Click Add product.
-
Your new product's page opens. In the Variants table, find the color's row and click Add in the Photos column. A panel opens for that color: pick an image file to upload it.

-
Back on the variants row, click the ⋯ menu at the end of the row, then choose Publish to storefront.
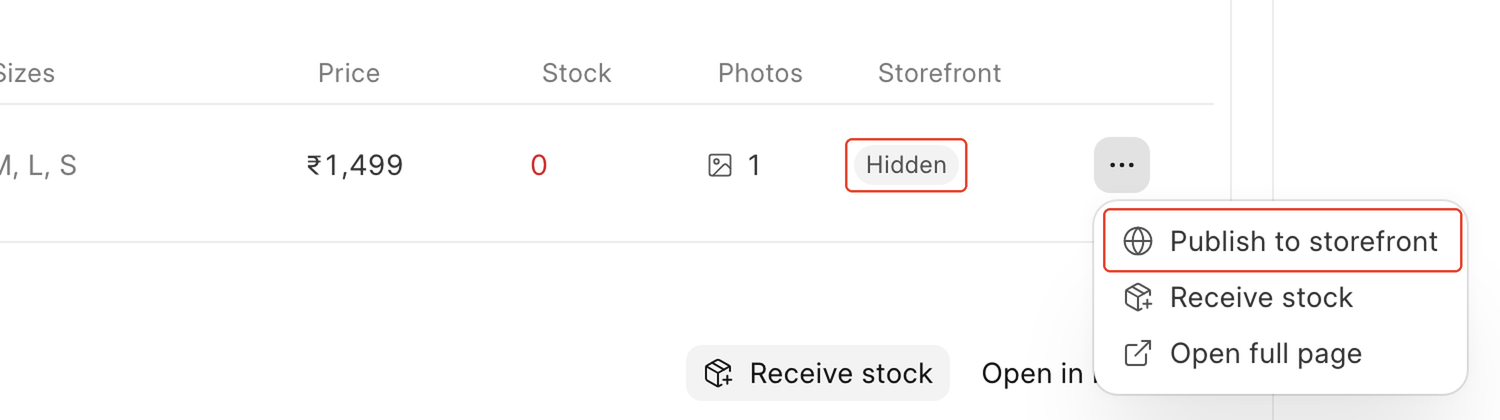
- Click Open next to the colour in Storefront listing to see it as a shopper would.
Check it worked
The product's storefront page shows its photo, price, and sizes. Since it has no stock yet, shoppers see both Add To Cart and Notify Me When Available; checkout itself needs stock.