.webp)





Change the hero for Diwali, give it a Background setting, and set the Diwali colours and fonts.
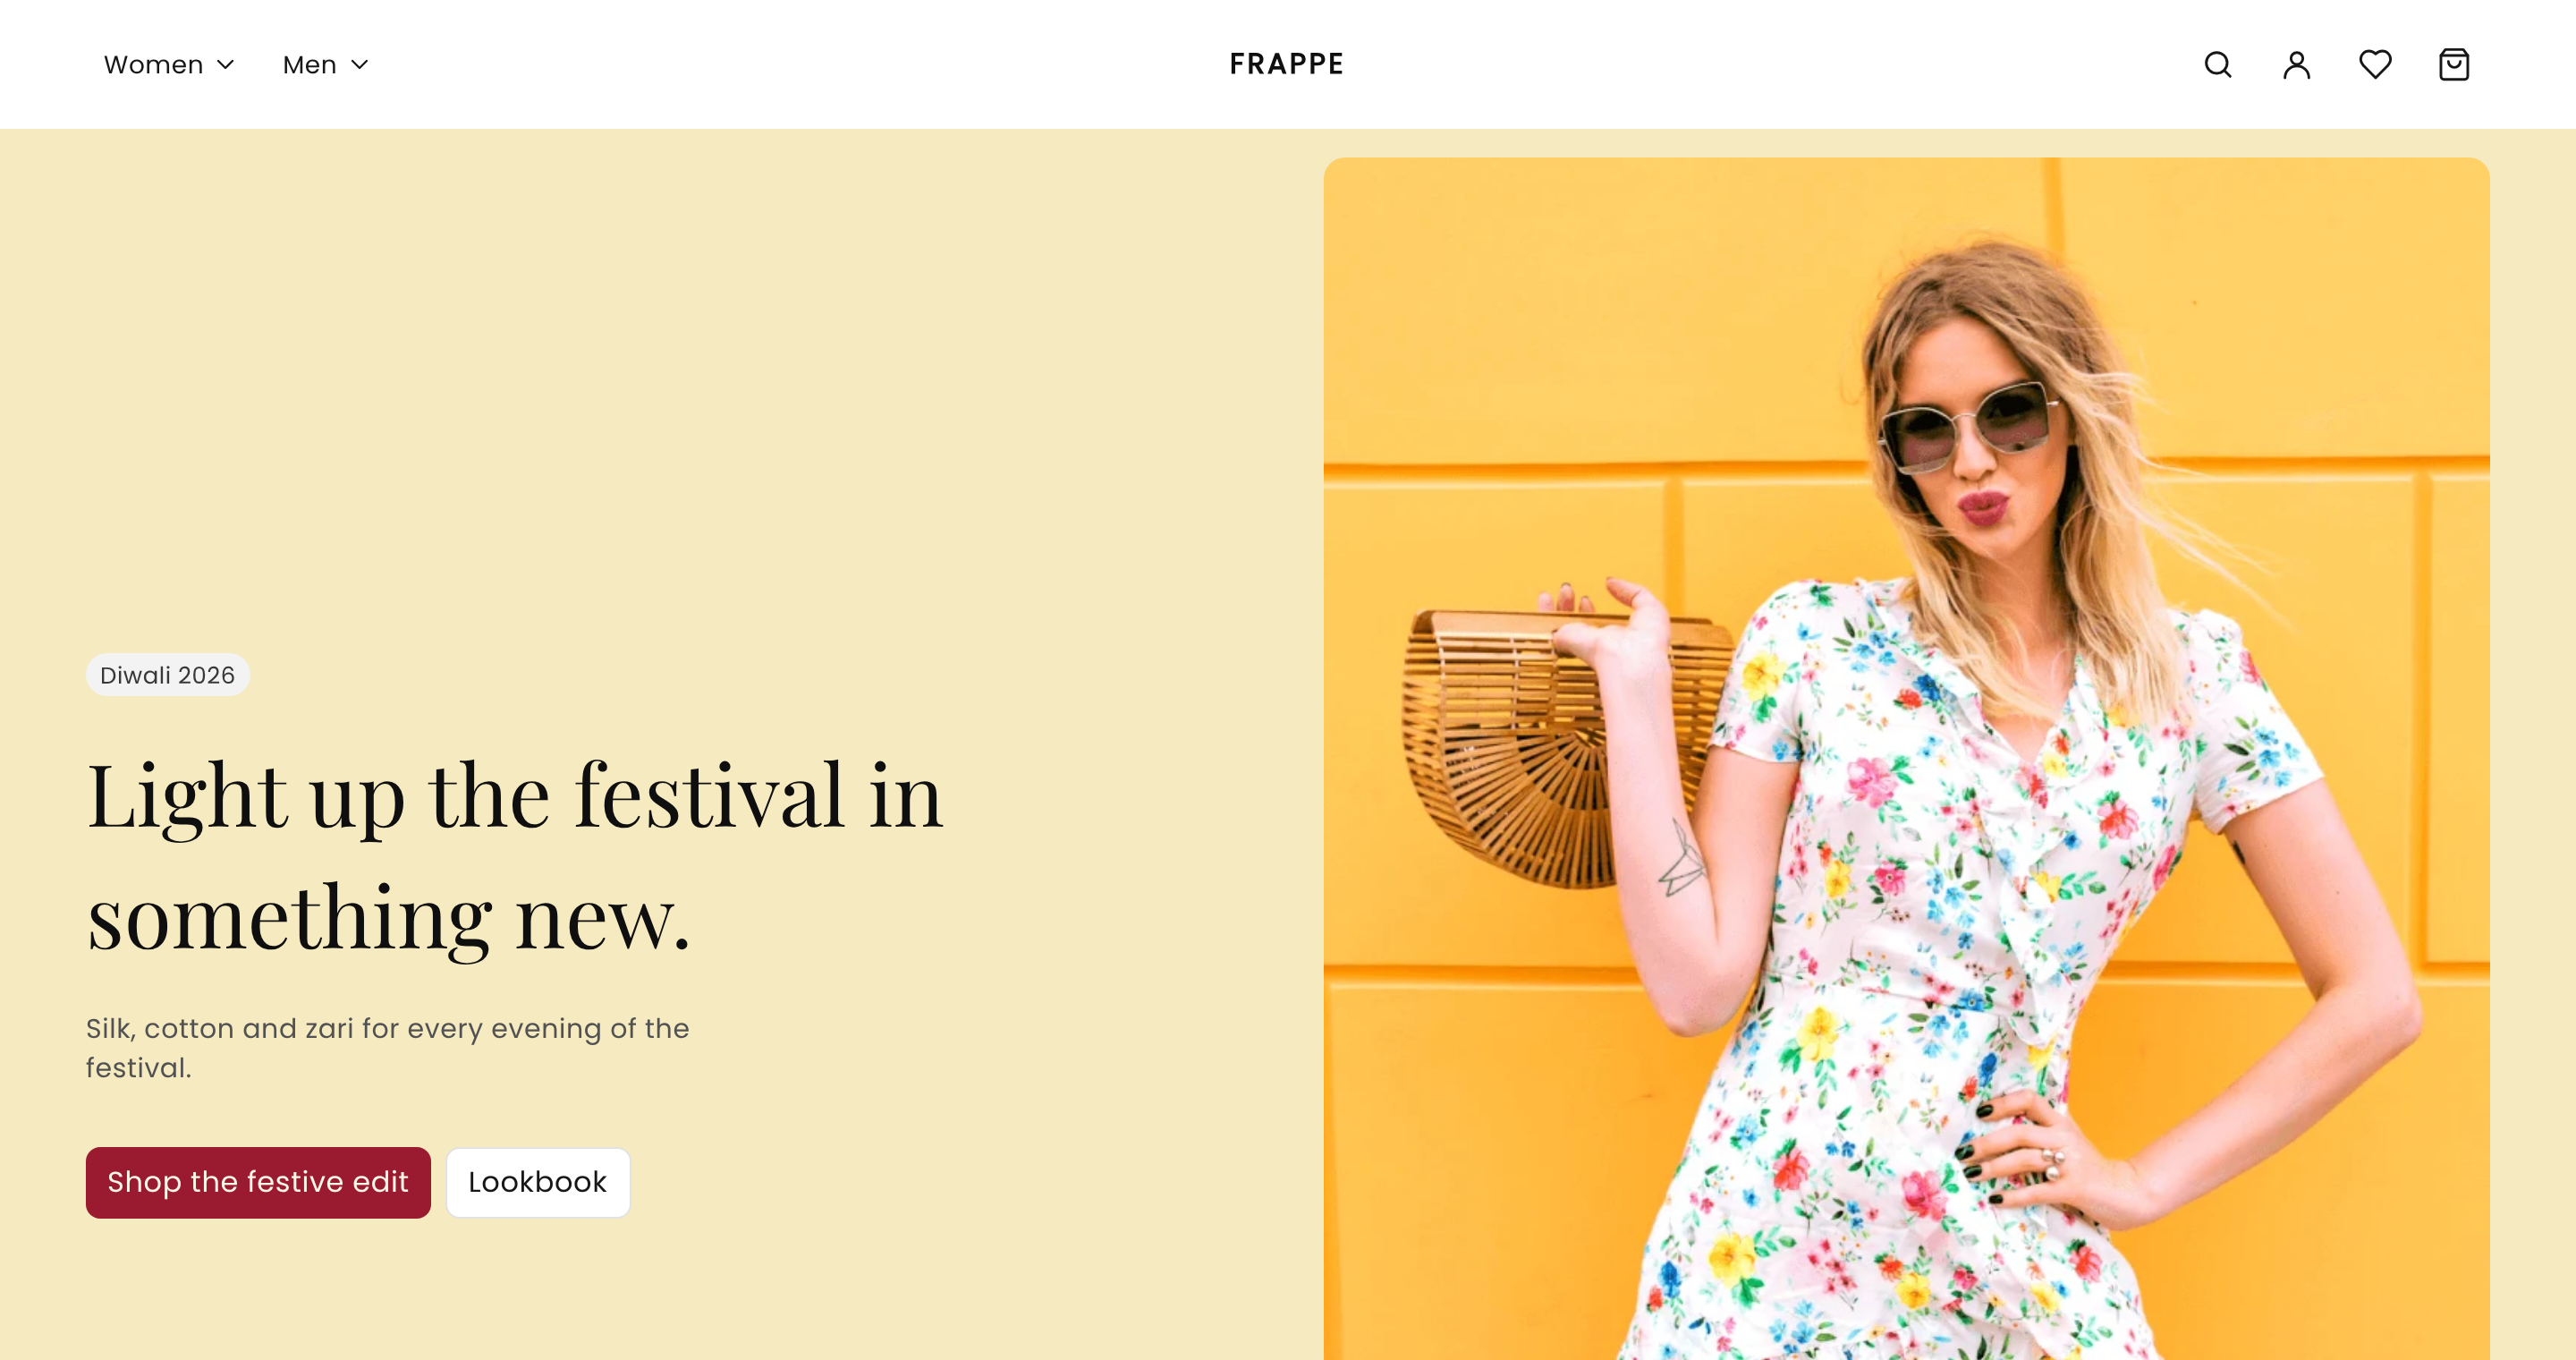
By the end, the hero says something about Diwali, the merchant can pick its background, and the whole store has a deep red button and a serif heading.
Before you start
Finish Get the starter theme.
Run the commands on this page from your app folder, apps/acme_themes, with bench start running.
Change the words
The hero is two files in apps/acme_themes/acme_themes/themes/diwali/sections/:
hero.htmlis the page. It prints{{ section.settings.heading }}where the heading goes.hero.jsonlists the settings, and thedefaulttext for each.
-
Open
hero.json. Change thedefaultof the four text settings:{ "id": "badge", "type": "text", "label": "Badge", "default": "Diwali 2026" }, { "id": "heading", "type": "text", "label": "Heading", "default": "Light up the festival in something new." }, { "id": "text", "type": "textarea", "label": "Text", "default": "Silk, cotton and zari for every evening of the festival." },and the button label further down:
{ "id": "primary_label", "type": "text", "label": "Button label", "default": "Shop the festive edit" }, -
Add your photos. This guide uses
hero.webphere andsuit.webpon the next page. Any portrait photos work. Copy them into your theme's images folder:cp hero.webp suit.webp acme_themes/public/themes/diwali/images/The home page layout,
themes/diwali/layouts/index.json, says which photo each slide shows. Commera Starter has three slides. Keep one, and point it at your photo:{ "id": "hero", "type": "hero", "hidden": false, "settings": { "background": "warm" }, "blocks": [ { "id": "slide-1", "type": "slide", "settings": { "image": "images/hero.webp", "alt": "A model in a floral dress against a yellow wall" } } ] }images/hero.webpis a path insidepublic/themes/diwali/. Thebackgroundline is for the next step.
Add a Background setting
You want the merchant to pick the hero's background. A merchant cannot write CSS, so you give them a short list.
-
In
hero.json, add aselectsetting. Put it aftertext:{ "id": "background", "type": "select", "label": "Background", "options": ["plain", "warm", "blush"], "default": "warm" },The editor shows it as a drop-down called Background with Plain, Warm and Blush.
-
In
hero.html, turn each option into a Tailwind class, and put the class on the outer tag. Add this line at the top:{% set backgrounds = {"plain": "bg-surface-base", "warm": "bg-surface-amber-3", "blush": "bg-surface-red-2"} %}and add the class to the
<section>tag:<section x-data="hero({{ slides | length }})" class="{{ backgrounds[section.settings.background] }} grid items-center gap-10 px-5 pb-20 pt-4 md:grid-cols-2 md:px-12">The class names are written out in full on purpose. Tailwind finds them by reading the file as text.
-
Rebuild the CSS.
bg-surface-amber-3is a new class, so the stylesheet does not have it yet. Check:grep -o "\.bg-surface-amber-3{" acme_themes/public/themes/diwali/tailwind.output.css | wc -l0Build, and check again:
npm run build:diwali
grep -o "\.bg-surface-amber-3{" acme_themes/public/themes/diwali/tailwind.output.css | wc -l
1
Set the Diwali colours and fonts
The colours and fonts of the whole store are not in a section. They live in the theme's settings, the Diwali Settings doctype that the command made.
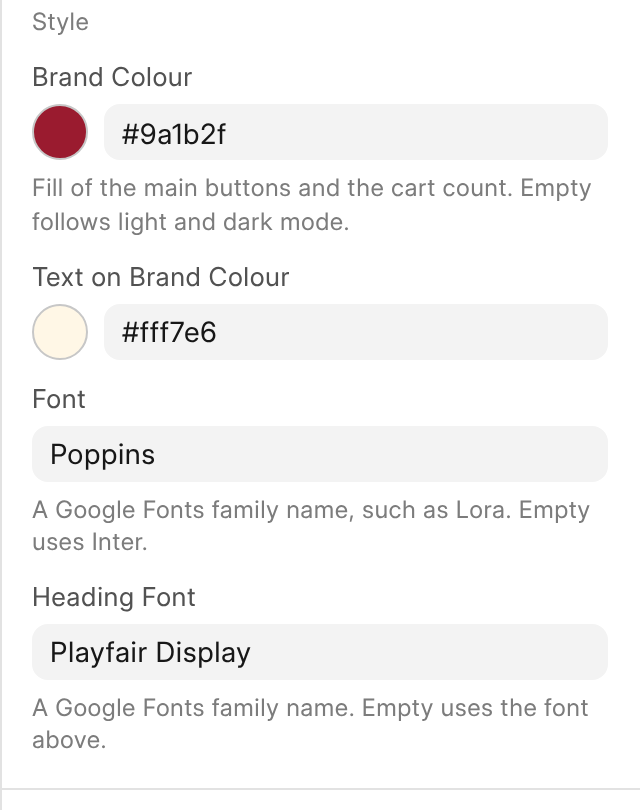
On the Style tab of that doctype, every field becomes a CSS variable on the page. A field called brand_color becomes --theme-brand-color. The starter's templates already use these four:
| Field | Label in the editor | Used for |
|---|---|---|
brand_color |
Brand Colour | Main buttons and the cart count |
brand_text_color |
Text on Brand Colour | Text on those buttons |
font |
Font | All text. A Google Fonts name. |
heading_font |
Heading Font | Headings. A Google Fonts name. |
You want these to be right on day one, and to come with the app when you move it. So set a default in the doctype file, instead of typing them into a form.
-
Open
apps/acme_themes/acme_themes/acme_themes/doctype/diwali_settings/diwali_settings.json. Add adefaultto each of the four fields:{ "fieldname": "brand_color", "fieldtype": "Color", "label": "Brand Colour", "default": "#9a1b2f" }, { "fieldname": "brand_text_color", "fieldtype": "Color", "label": "Text on Brand Colour", "default": "#fff7e6" },{ "fieldname": "font", "fieldtype": "Data", "label": "Font", "default": "Poppins" }, { "fieldname": "heading_font", "fieldtype": "Data", "label": "Heading Font", "default": "Playfair Display" }Each field keeps its other keys. Only the
defaultline is new. -
Run migrate, so the site reads the new defaults:
bench --site dev.localhost migrate -
Check that the variables are on the page:
curl -s http://127.0.0.1:8000/en | grep -o -- '--theme-[a-z-]*: [^;]*'--theme-brand-color: #9a1b2f --theme-brand-text-color: #fff7e6 --theme-font: Poppins --theme-heading-font: Playfair Display
Reload the store. The hero is the Diwali hero.
A default shows until the merchant saves a value of their own. They can change all four in the editor, under Theme settings, on the Style part of the panel.