.webp)





Get the starter theme
Make an app for your themes, copy Commera Starter into it as Diwali, and make it the theme of your store.
By the end, your store runs the Diwali theme. It looks just like Commera Starter, and every file is yours to change.
Before you start
Read What you will build. You need a Commera site with developer mode on. This guide uses a site called dev.localhost.
Steps
-
Go to your bench folder and make the app:
bench new-app acme_themesBench asks a few questions. These are the answers used here:
Question Answer App Title Acme ThemesApp Description Store themes by AcmeApp Publisher AcmeApp Email hello@acme.exampleApp License mitCreate GitHub Workflow action for unittests nBranch Name developThe App Title also becomes the app's module, here Acme Themes. The theme you make later belongs to this module.
-
Install the app on your site:
bench --site dev.localhost install-app acme_themes -
Open
apps/acme_themes/acme_themes/hooks.pyand tell Frappe that your app needs Commera. Find the line# required_apps = []and change it to:required_apps = ["commera"] -
Make the theme. Go into the app folder, then run the command:
cd apps/acme_themes
bench --site dev.localhost commera theme new "Diwali" --type sections
--type sectionsmakes a theme built from sections. Without--parent, the command copies the theme that is ticked Use as Starter. That is Commera Starter. This is what it prints:Wrote document file for DocType Diwali Settings at /home/frappe/frappe-bench/apps/acme_themes/acme_themes/acme_themes/doctype/diwali_settings/diwali_settings.json Wrote document file for Shop Theme Diwali at /home/frappe/frappe-bench/apps/acme_themes/acme_themes/acme_themes/shop_theme/diwali/diwali.json created acme_themes/themes/diwali created acme_themes/public/themes/diwali created acme_themes/acme_themes/doctype/diwali_settings created acme_themes/acme_themes/shop_theme/diwali/diwali.json Next: set Active Theme to Diwali in Shop Theme Settings, then open /enThe last line mentions Shop Theme Settings. You do not need it. Step 6 does the same job from the Themes page.
The command made a Shop Theme record called Diwali on your site, and a Diwali Settings doctype for the theme's settings. It also copied these files into your app:
acme_themes/
├── acme_themes/
│   ├── doctype/diwali_settings/
│   └── shop_theme/diwali/diwali.json
├── public/themes/diwali/
│   ├── images/
│   ├── scripts/storefront.js
│   └── tailwind.output.css
└── themes/diwali/
    ├── components/
    ├── layouts/
    ├── pages/
    ├── sections/
    ├── styles/tokens.css
    └── tailwind.input.css
The home page has five sections:
hero,featured_products,collection_tiles,image_with_textandnewsletter. You find them inthemes/diwali/sections/, and the home page order inthemes/diwali/layouts/index.json. -
Set up the CSS build. The copy comes with a built stylesheet,
public/themes/diwali/tailwind.output.css, but not the tools to build it again. You need them each time you add a new Tailwind class.You are still in
apps/acme_themes. Make apackage.jsonhere:{ "name": "acme_themes", "private": true, "scripts": { "build:diwali": "cd acme_themes/themes/diwali && tailwindcss -i tailwind.input.css -o ../../public/themes/diwali/tailwind.output.css --minify" }, "devDependencies": { "@tailwindcss/cli": "^4.1.0", "tailwindcss": "^4.1.0" } }Install it and build:
npm install
npm run build:diwali
> build:diwali > cd acme_themes/themes/diwali && tailwindcss -i tailwind.input.css -o ../../public/themes/diwali/tailwind.output.css --minify ≈ tailwindcss v4.3.5 Done in 111msThe script builds from inside the theme folder, so Tailwind reads only this theme's files.
Run
npm run build:diwalieach time you add a class that the theme did not use before. -
Make Diwali the theme of your store. In
/commera, open Storefront, then Themes. Diwali is in the Theme library. Click Switch Theme next to it, then click Switch Theme again to confirm.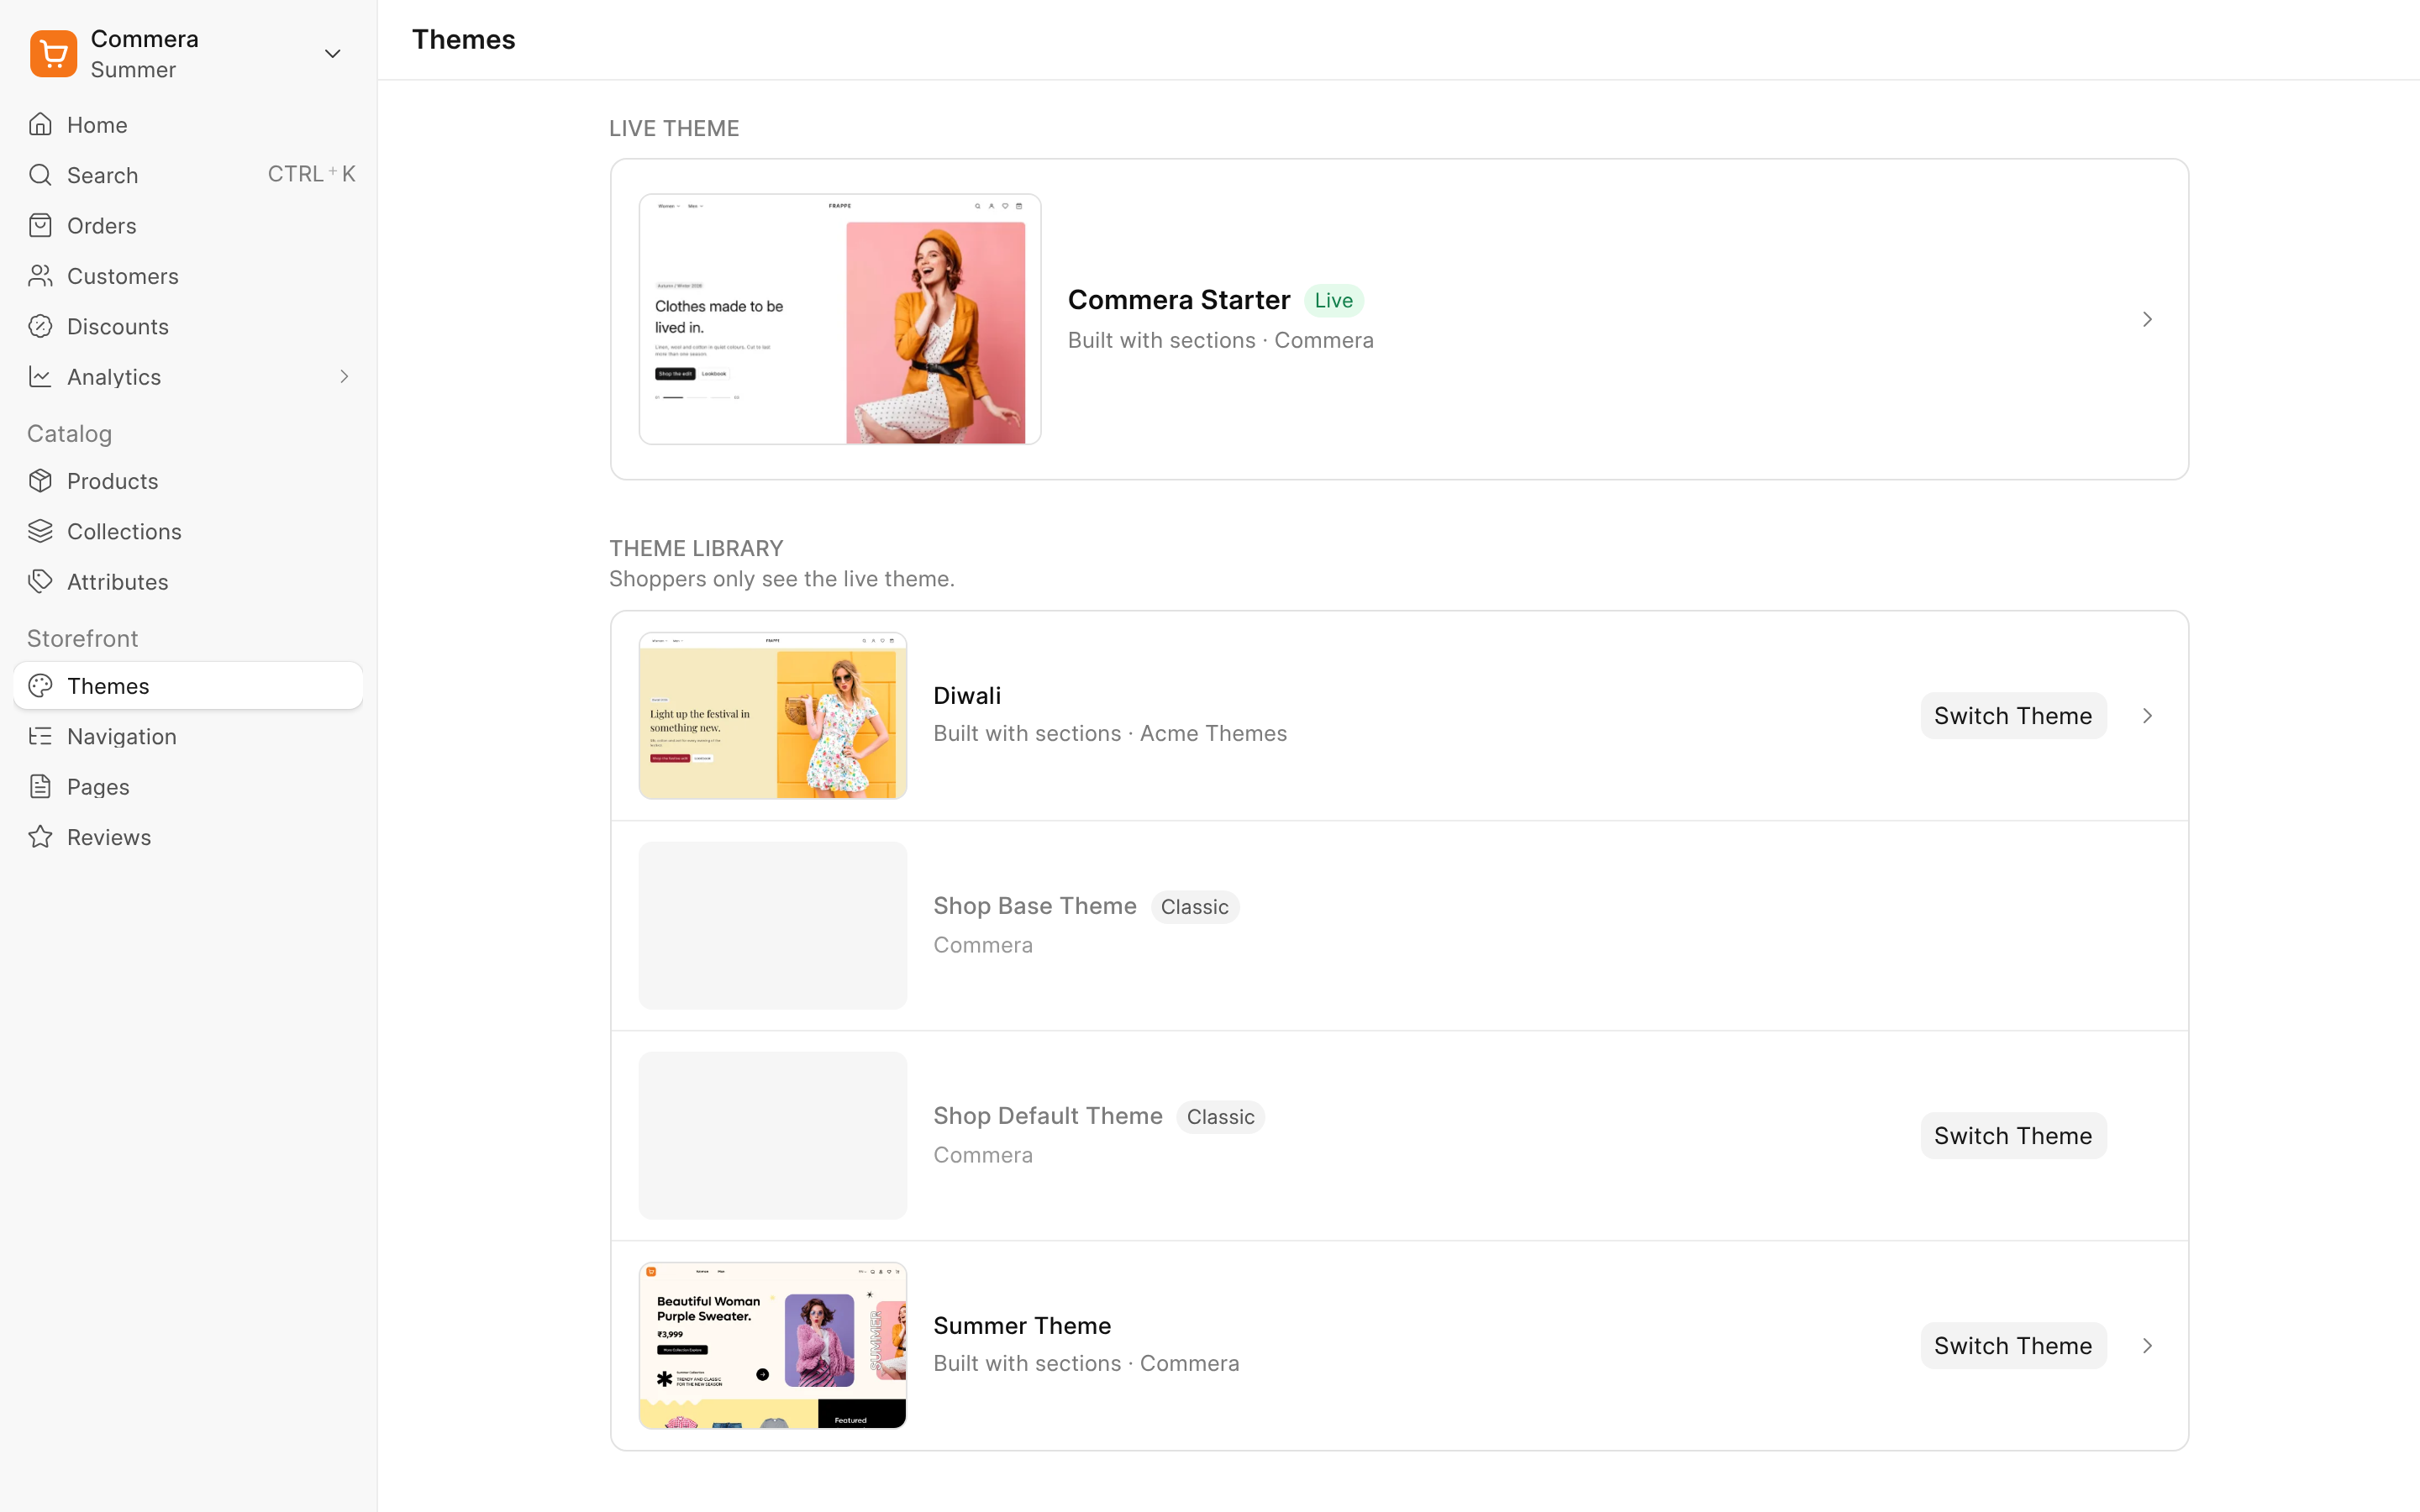
-
Open the store to visitors. A new store is private, and visitors see "We're getting the store ready." Staff always see the store, but the
curlchecks in this guide run as a visitor. In/commera, on the Home page, click Publish store and confirm.
Check it worked
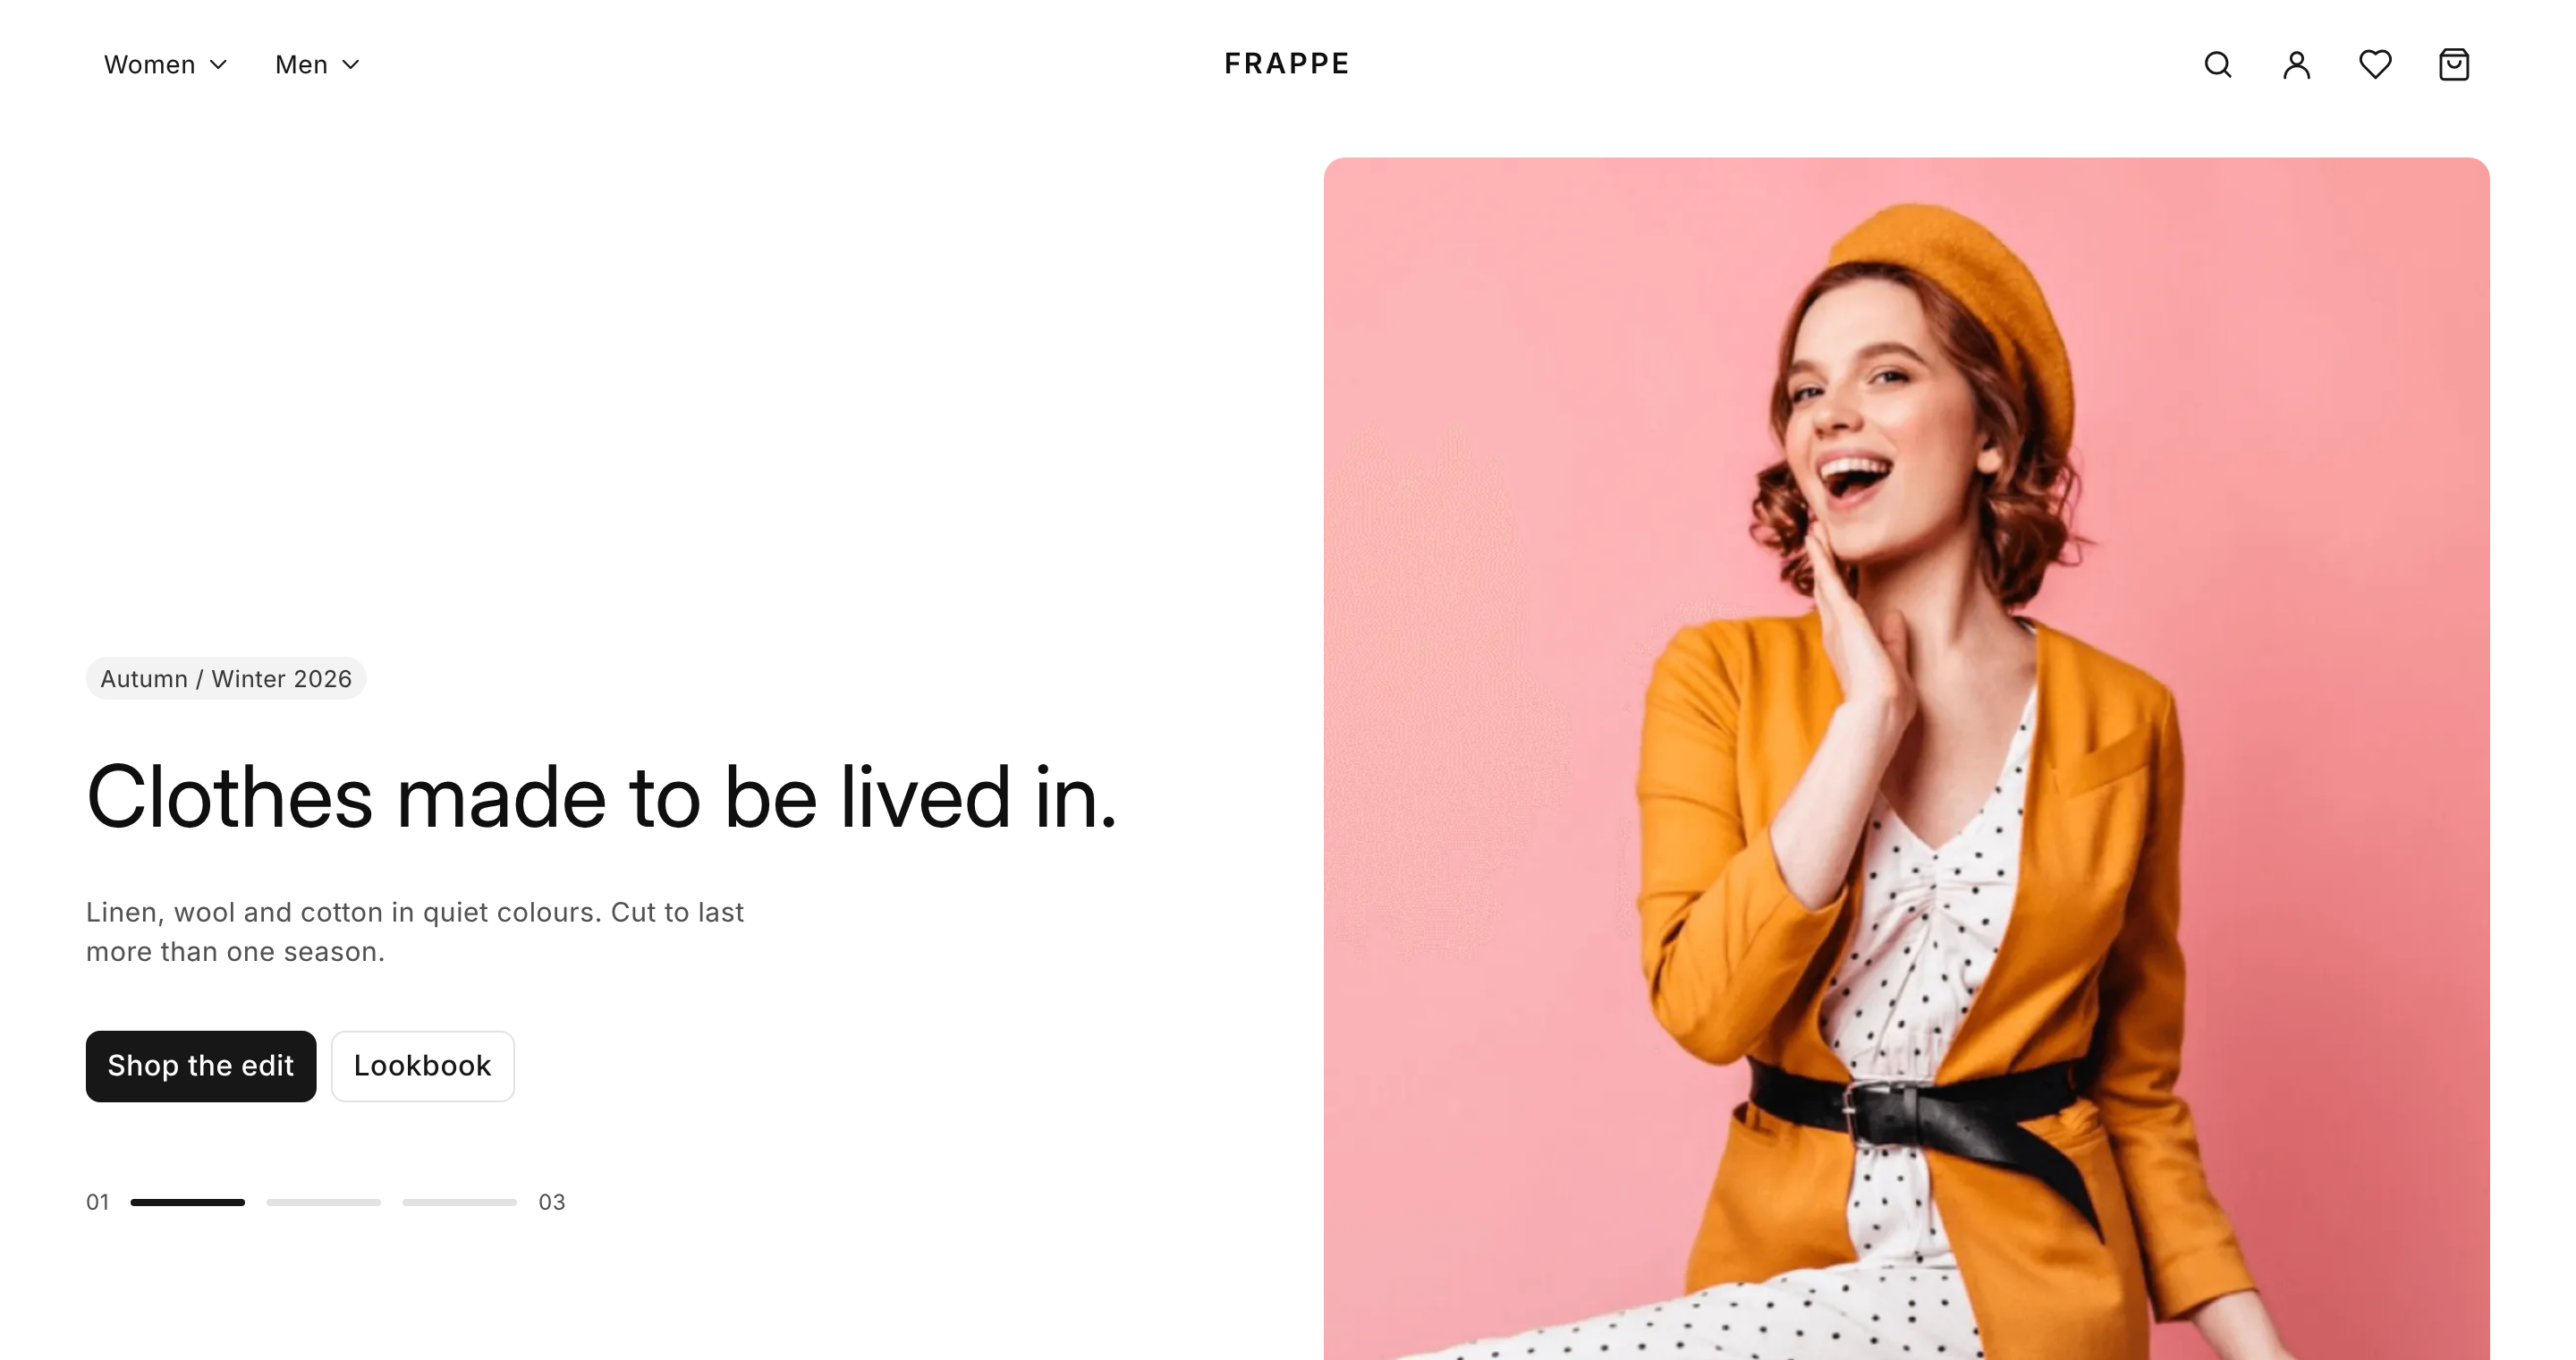
Open your store at /en. It looks like Commera Starter, because Diwali is a copy of it.